Maintenance window scheduled to begin at February 14th 2200 est. until 0400 est. February 15th
z1(ka톡EH353)λ(텔레𝔼ℍ𝟛𝟝𝟛)ィ땅콩맞고

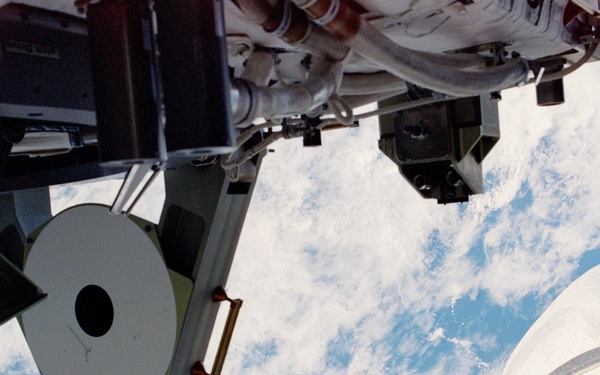
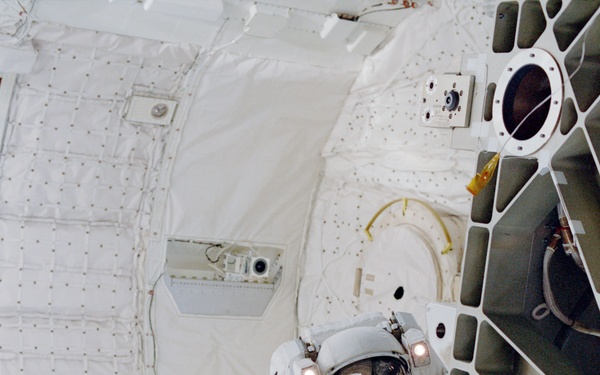
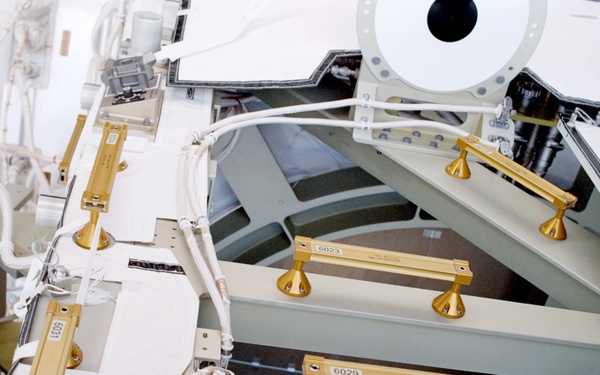
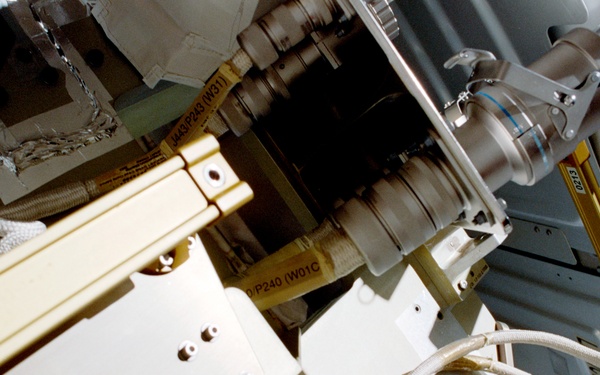
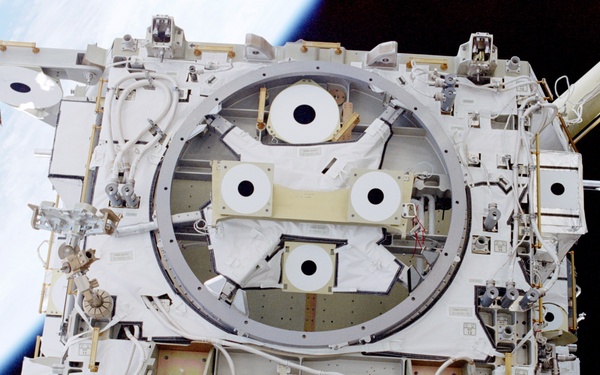
Z1 cable tray leading to PMA2; Z1 truss structure
Courtesy Photo
NASA
Visit images Page
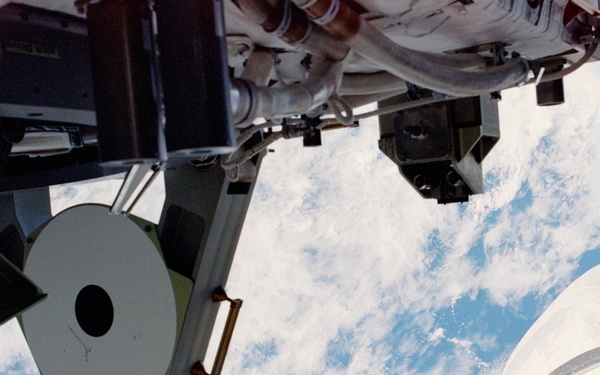
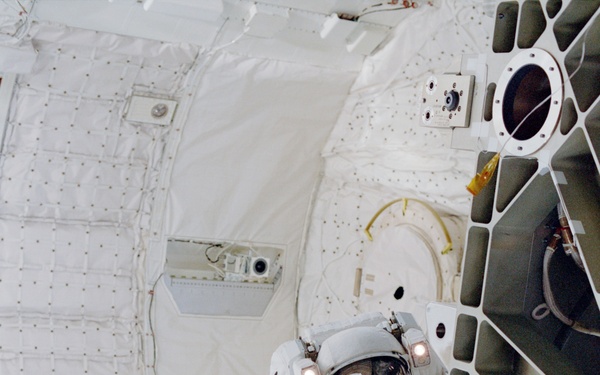
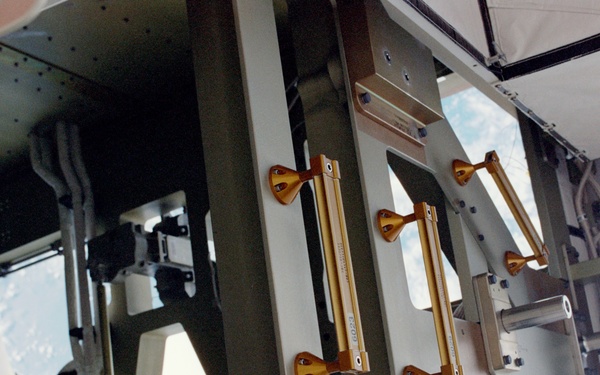
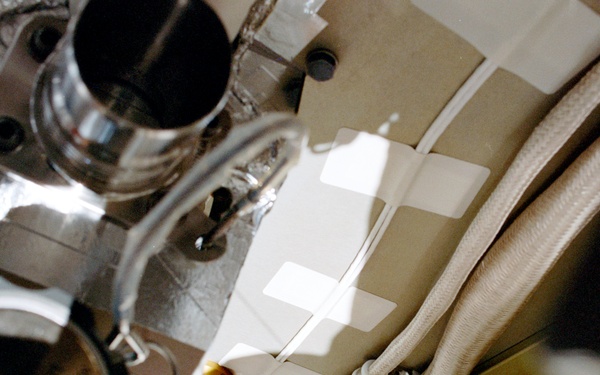
Z1 cable tray leading to PMA2; Z1 truss structure
Courtesy Photo
NASA
Visit images Page
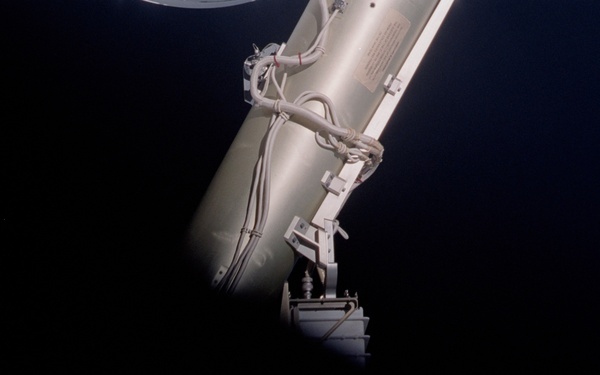
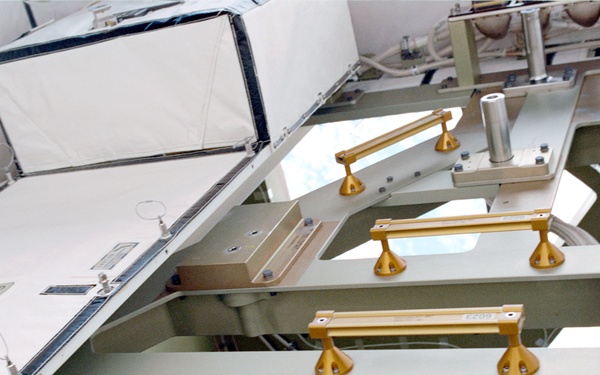
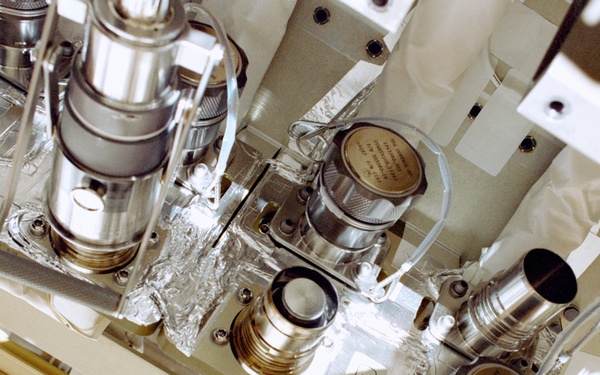
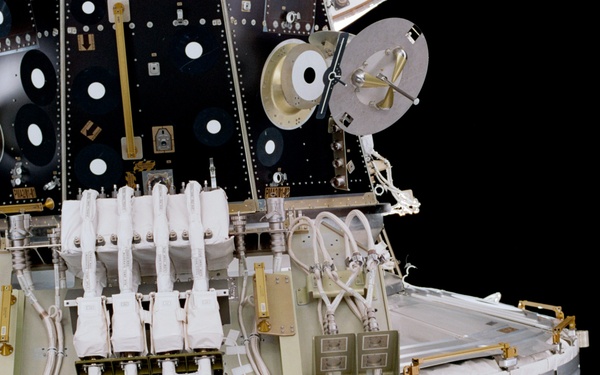
Clevis attached by tether and clips to Z1; Forward face of Z1 and MBM
Courtesy Photo
NASA
Visit images Page

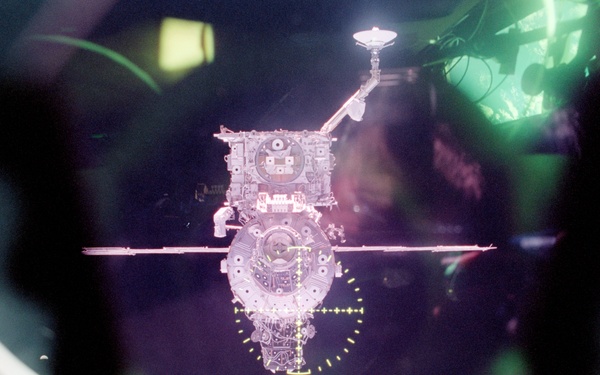
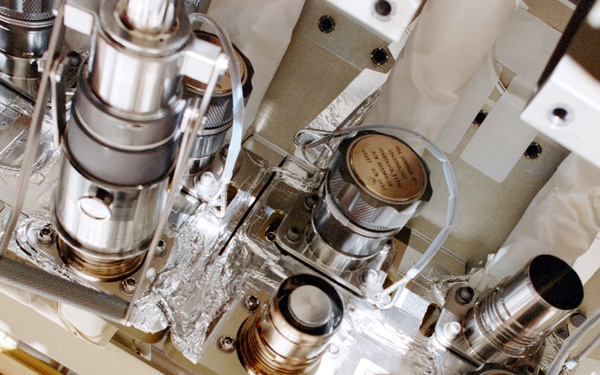
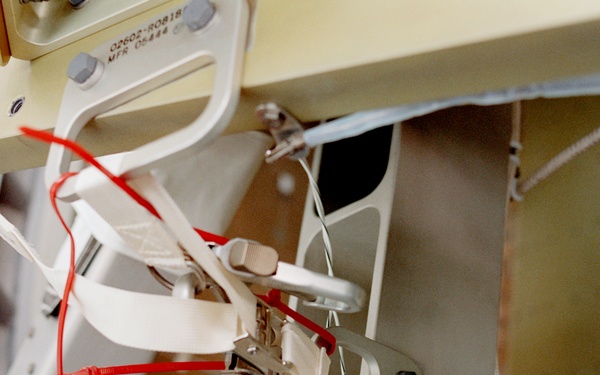
Clevis attached by tether and clips to Z1; Forward face of Z1 and MBM
Courtesy Photo
NASA
Visit images Page

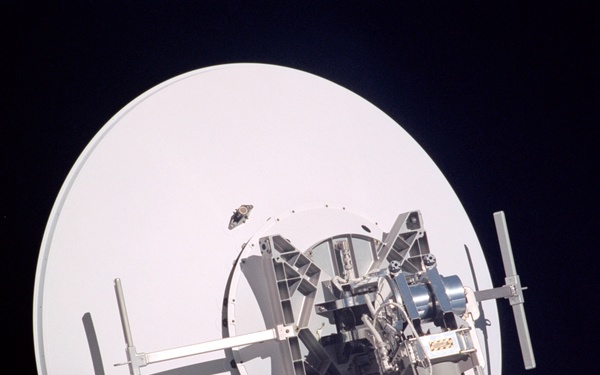
Clevis attached by tether and clips to Z1; Forward face of Z1 and MBM
Courtesy Photo
NASA
Visit images Page
Clevis attached by tether and clips to Z1; Forward face of Z1 and MBM
Courtesy Photo
NASA
Visit images Page