Maintenance window scheduled to begin at February 14th 2200 est. until 0400 est. February 15th
kk(ㅌㄹ𝙊𝙏𝘾𝙃𝙐𝘽_𝙆𝙍>▒가상화폐구매함㈇(텔레ㅌㄹ𝕆𝕋ℂℍ𝕌𝔹_𝕂ℝ]
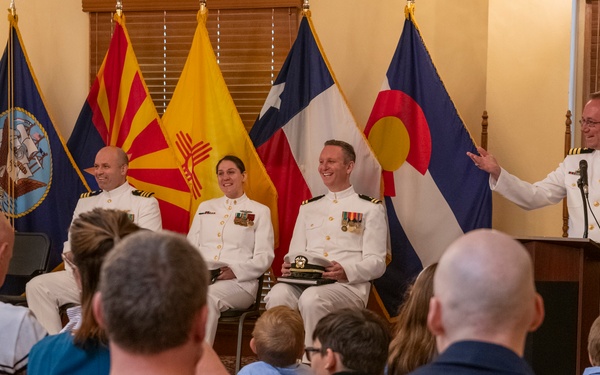
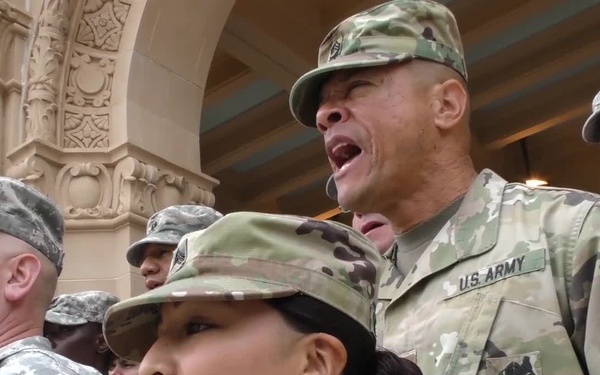
NTAG Phoenix Holds Change of Command
05.17.2024

NTAG Phoenix Holds Change of Command
Navy Talent Acquisition Group Phoenix
Visit news Page
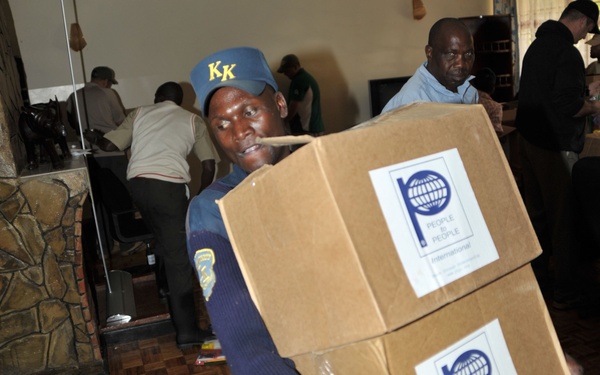
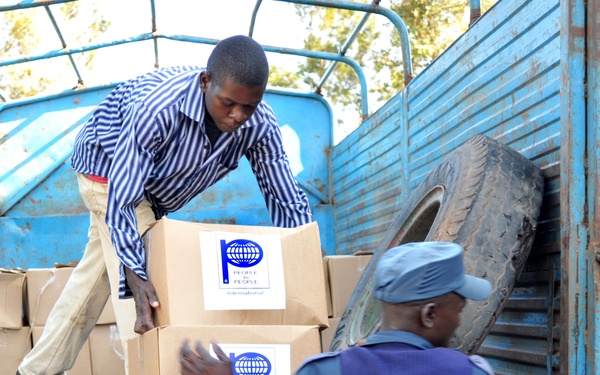
Combined Joint Task Force - Horn of Africa Members Deliver School Supplies
Combined Joint Task Force - Horn of Africa
Visit images Page
Combined Joint Task Force - Horn of Africa Members Deliver School Supplies
Combined Joint Task Force - Horn of Africa
Visit images Page
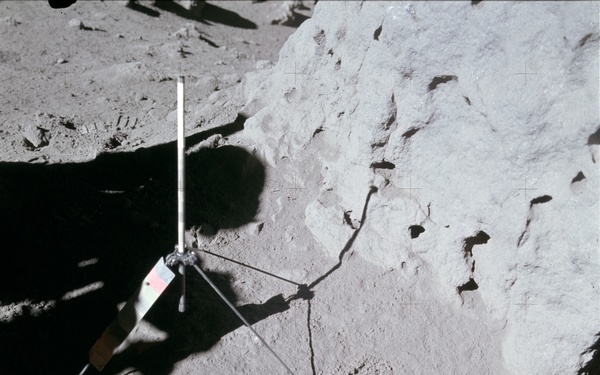
Apollo 15 Mission image - View of Station 4, and sample 204
Courtesy Photo
NASA
Visit images Page
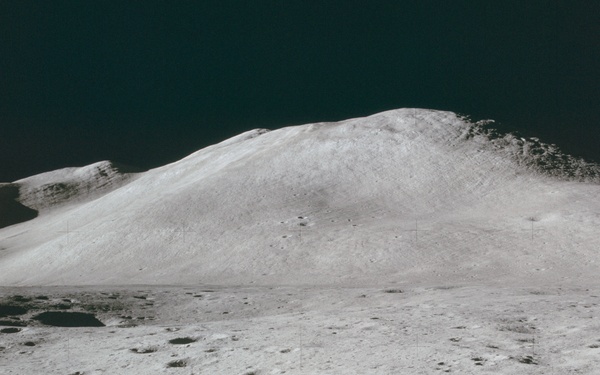
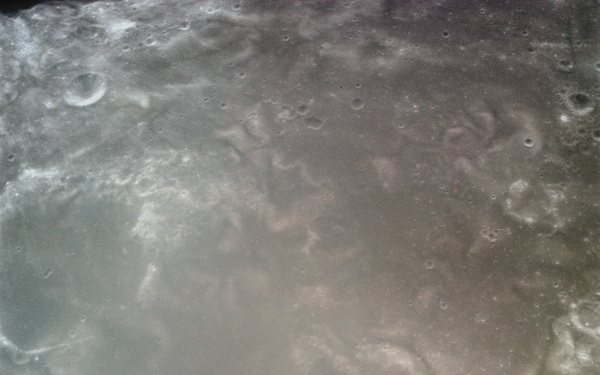
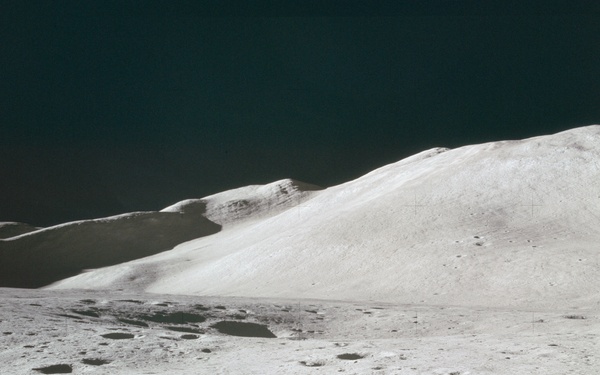
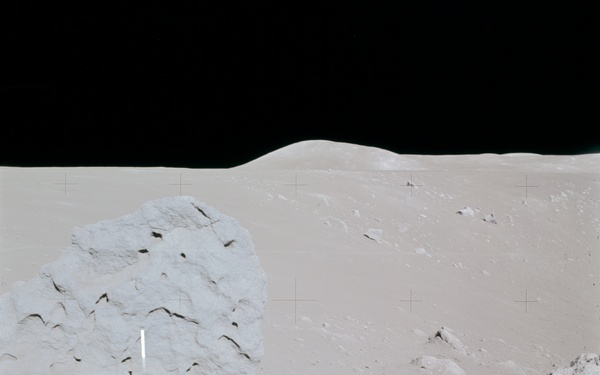
Apollo 15 Mission image - Panoramic view of the East Flank of Hadley Delta
Courtesy Photo
NASA
Visit images Page
Apollo 15 Mission image - View of Station 4, Cross Sun
Courtesy Photo
NASA
Visit images Page
Apollo 15 Mission image - Panoramic view of the East Flank of Hadley Delta
Courtesy Photo
NASA
Visit images Page
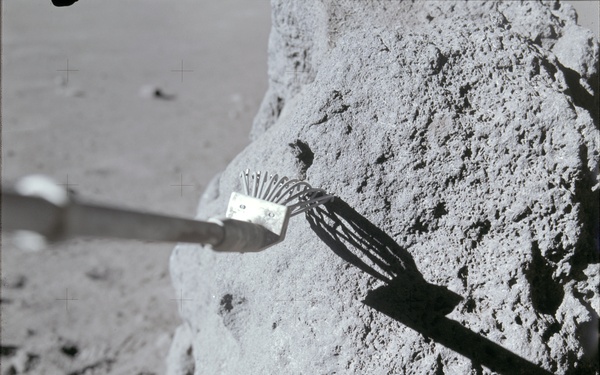
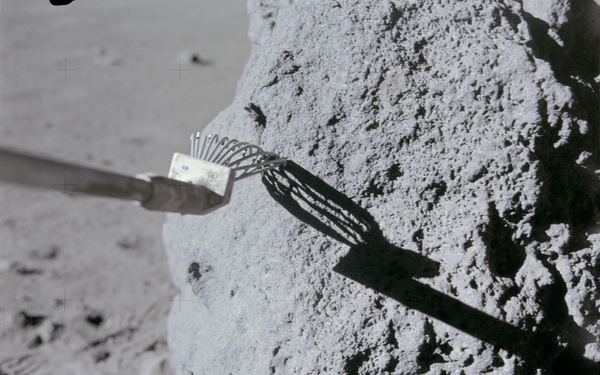
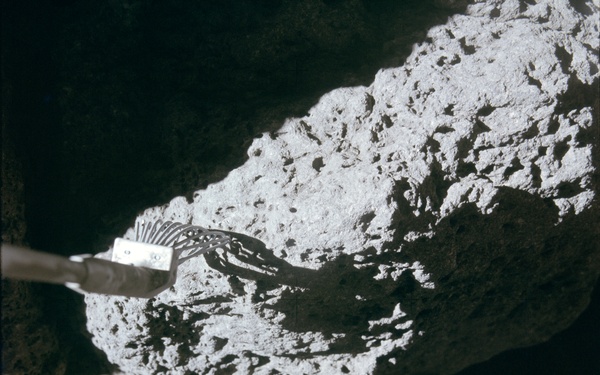
Apollo 15 Mission image - Stereo Pair view of Station 4, and contact on boulder with rake
Courtesy Photo
NASA
Visit images Page
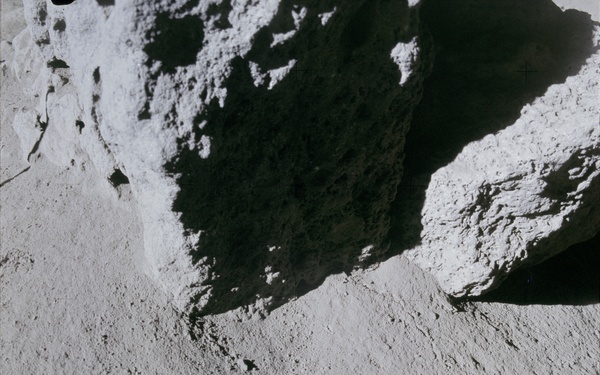
Apollo 15 Mission image - Stereo Pair closeup view of Station 4, and boulder
Courtesy Photo
NASA
Visit images Page
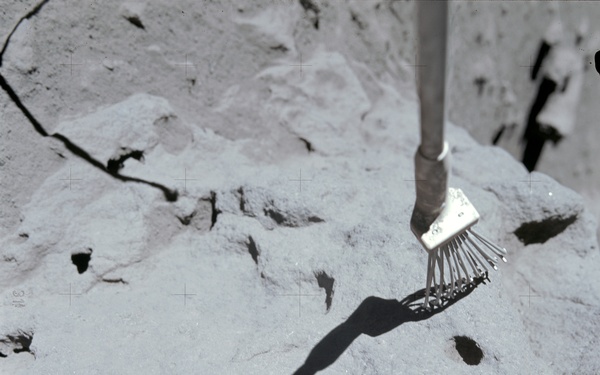
Apollo 15 Mission image - Stereo Pair view of Station 4, and smaller rock
Courtesy Photo
NASA
Visit images Page
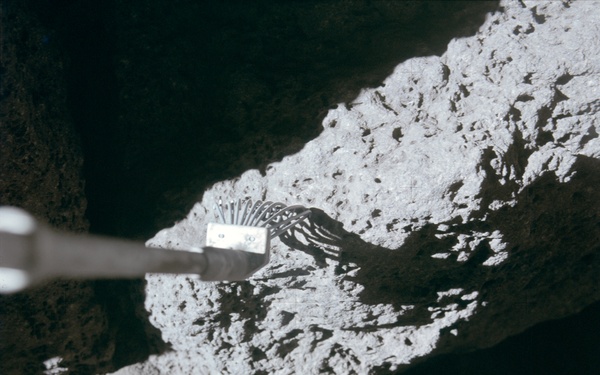
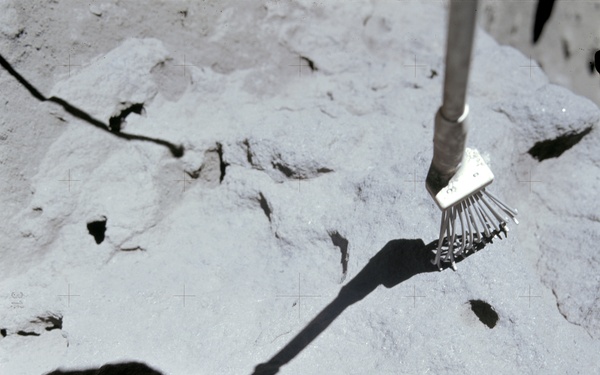
Apollo 15 Mission image - Stereo Pair view of Station 4, and contact on boulder with rake
Courtesy Photo
NASA
Visit images Page
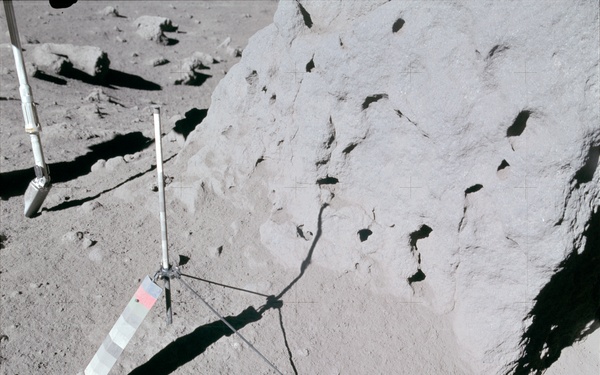
Apollo 15 Mission image - View of Station 4 and Rock sample, Cross Sun
Courtesy Photo
NASA
Visit images Page
Apollo 15 Mission image - Stereo Pair closeup view of Station 4, and boulder
Courtesy Photo
NASA
Visit images Page
Apollo 15 Mission image - View of Station 4, and sample 204, Cross Sun
Courtesy Photo
NASA
Visit images Page
Apollo 15 Mission image - Stereo Pair view of Station 4, and smaller rock
Courtesy Photo
NASA
Visit images Page

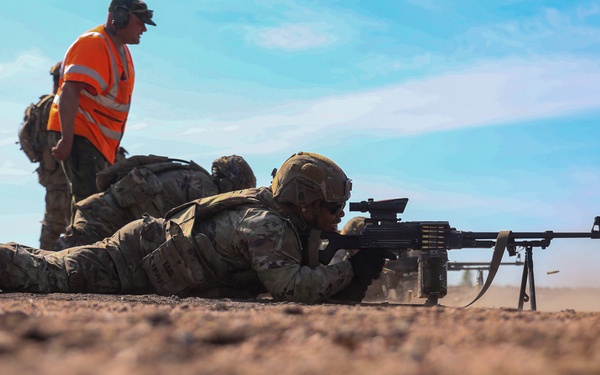
Weapon Swap Training
3rd Armored Brigade Combat Team, 4th Infantry Division
Visit images Page

Weapon Swap Training
3rd Armored Brigade Combat Team, 4th Infantry Division
Visit images Page
Weapon Swap Training
3rd Armored Brigade Combat Team, 4th Infantry Division
Visit images Page
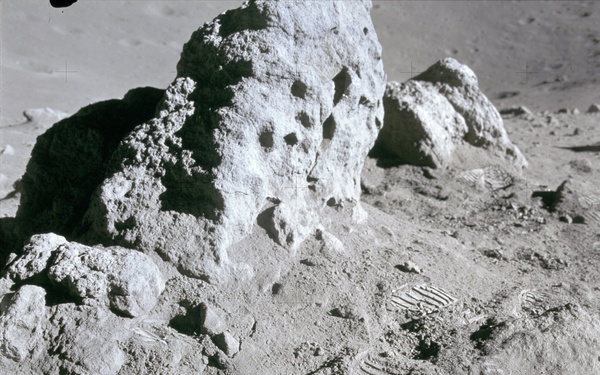
Apollo 15 Mission image - View of location of Station 4 ,and sample 204, and Football size rock F
Courtesy Photo
NASA
Visit images Page
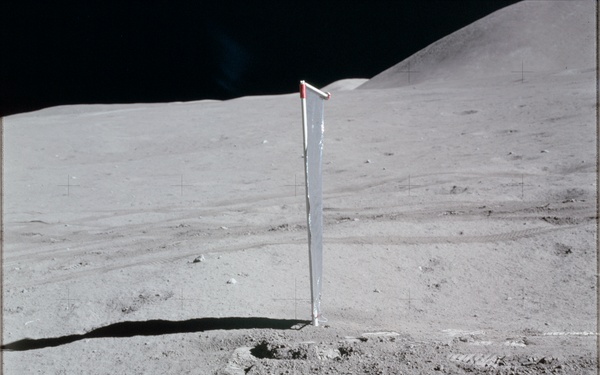
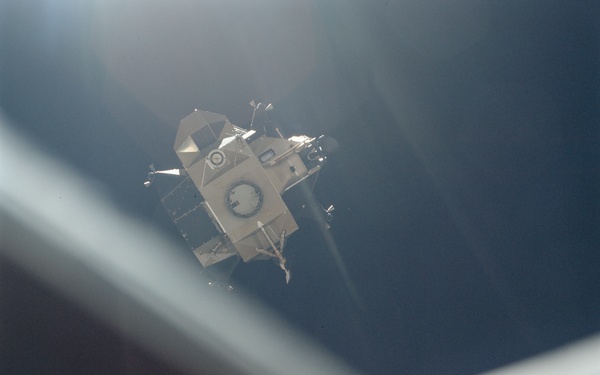
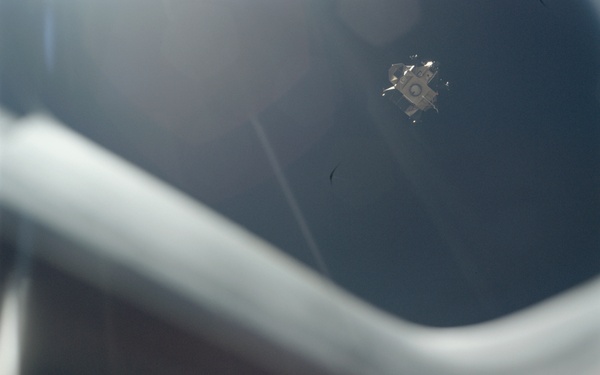
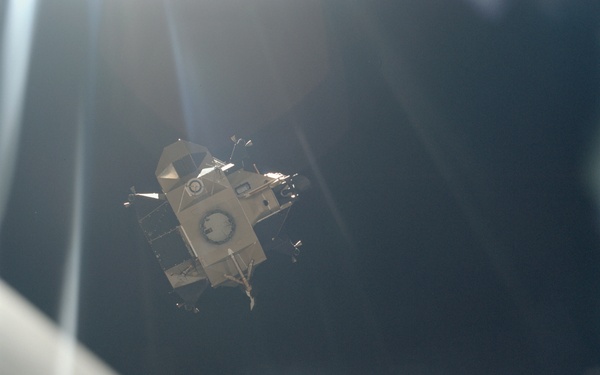
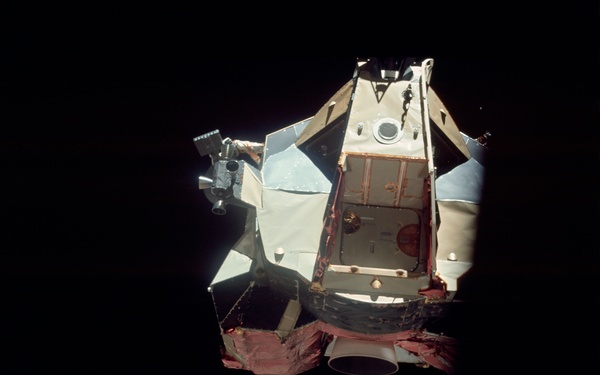
Apollo 15 Mission image - View of Lunar Module LM station with the Solar Wind Composition Experiment
Courtesy Photo
NASA
Visit images Page